
Meta
Connect
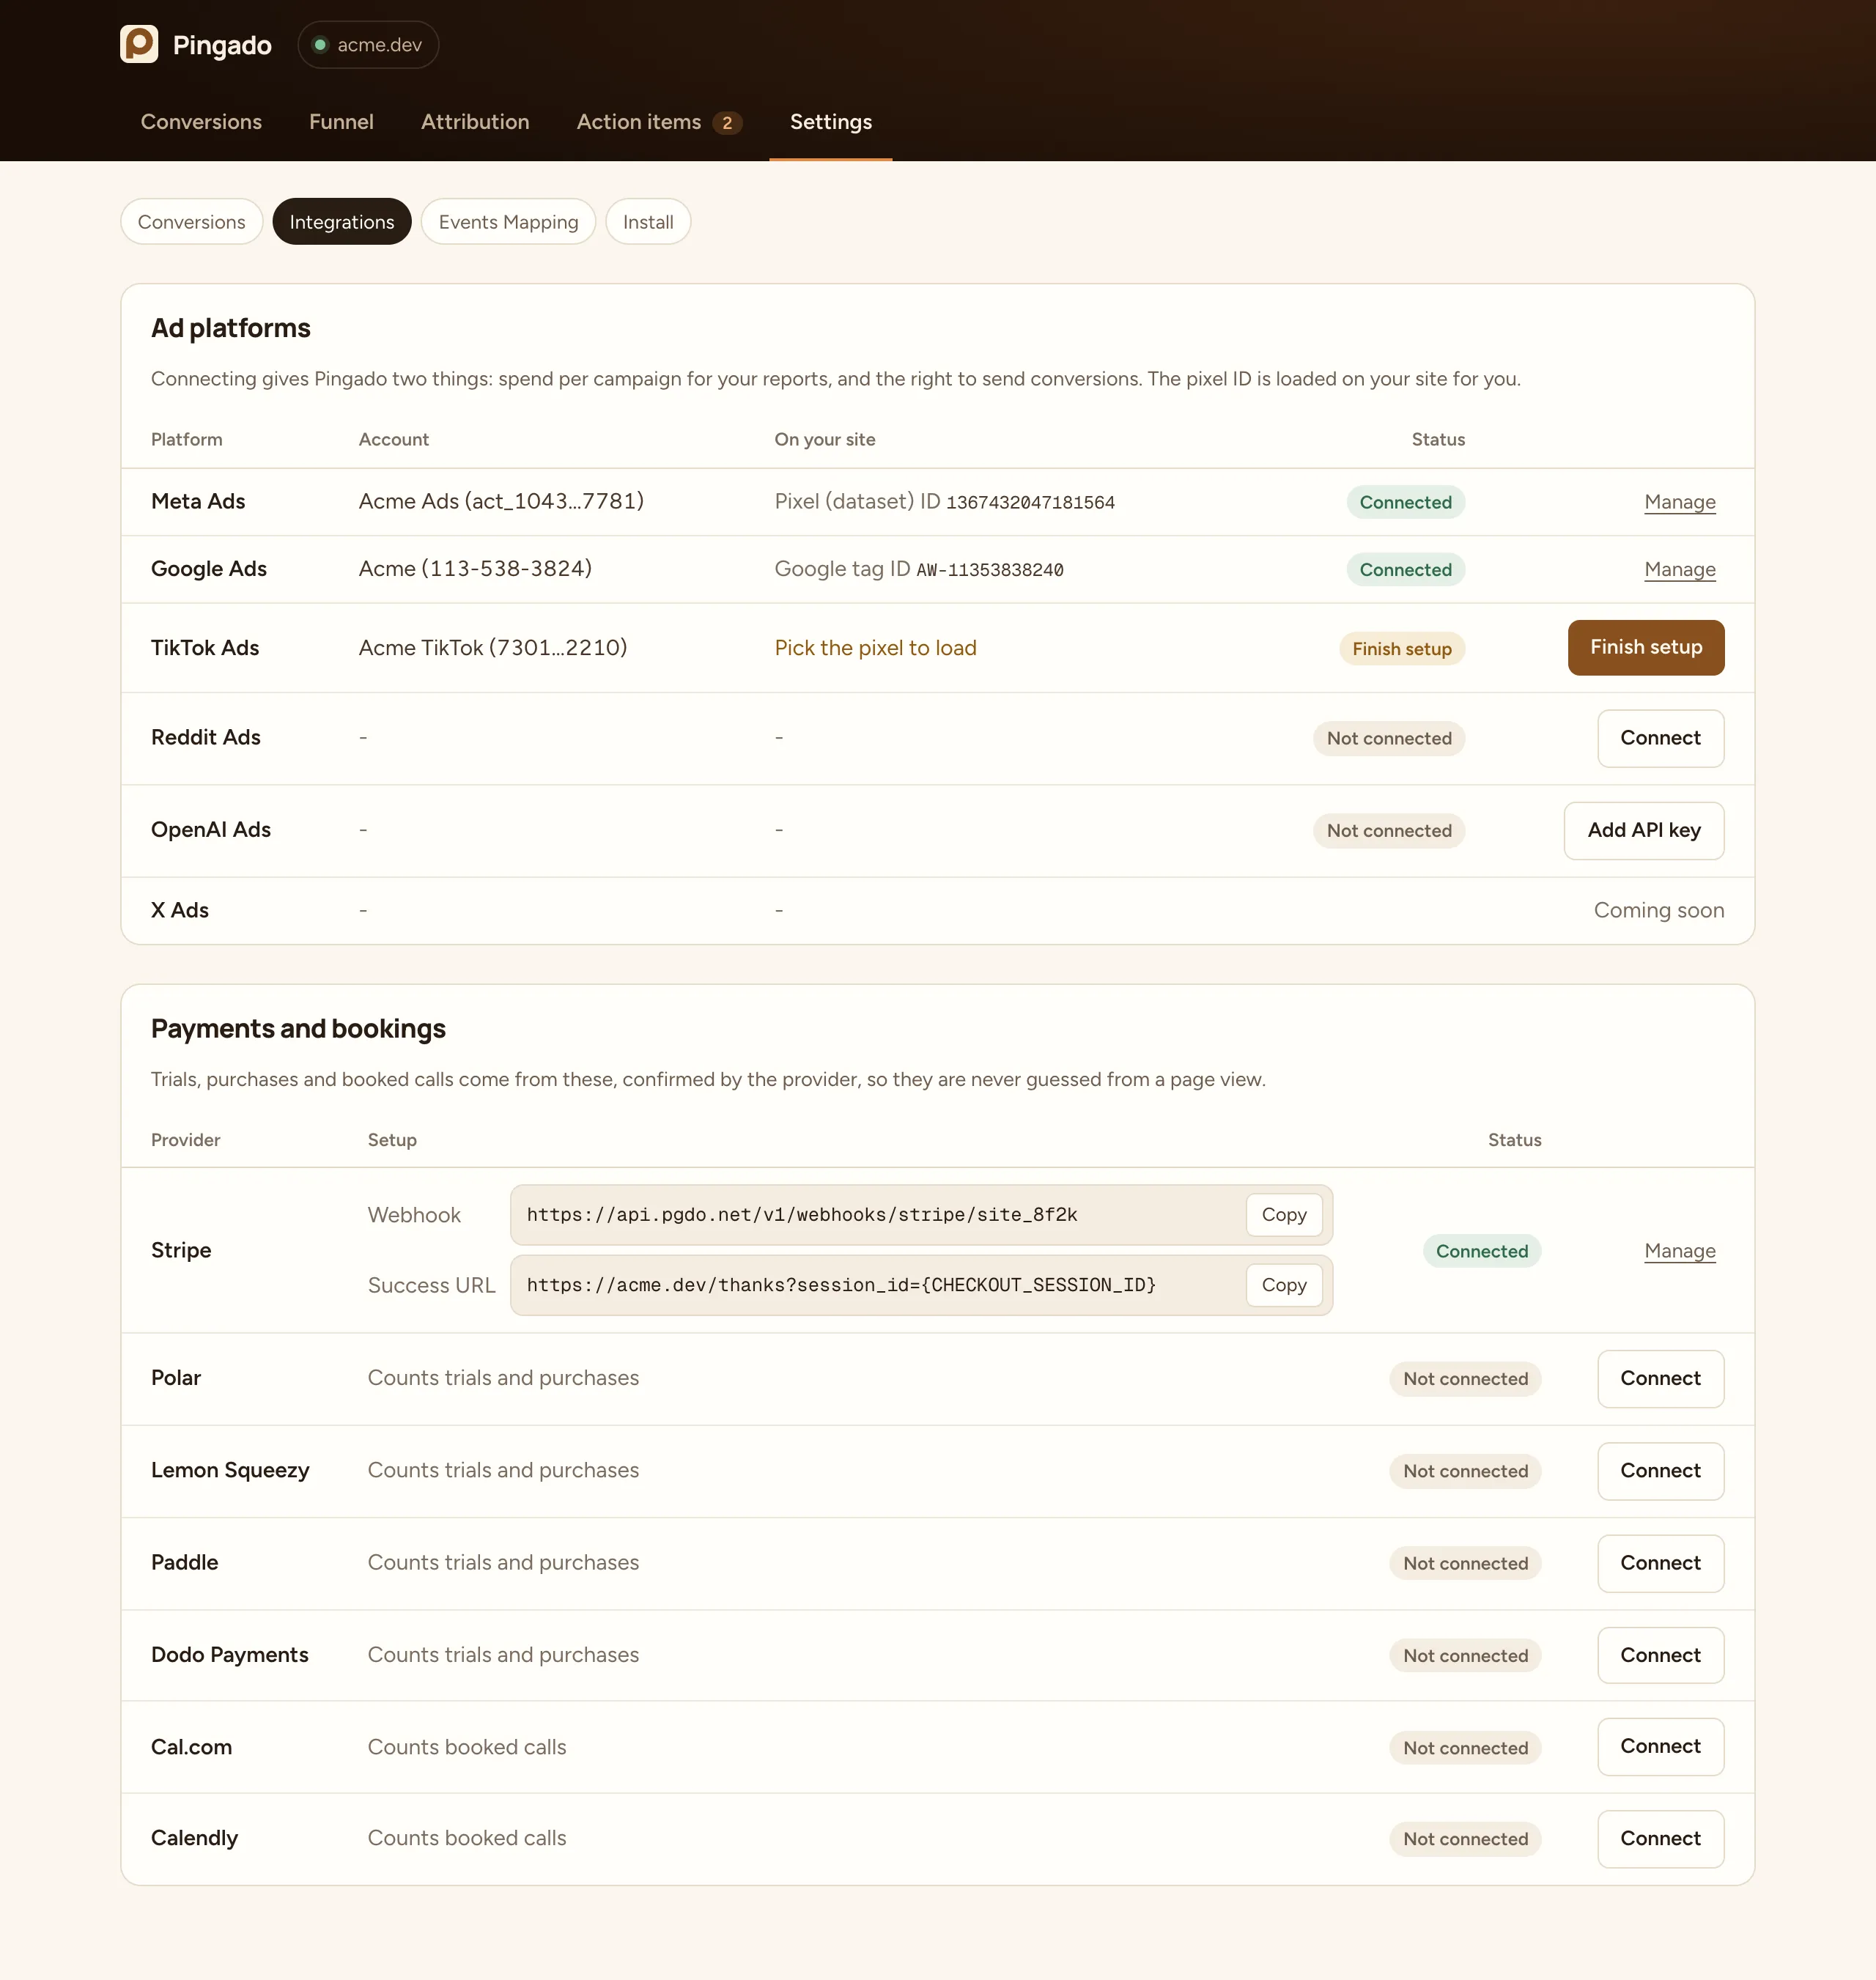
Section titled “Connect”- In Settings → Integrations, select Connect next to Meta Ads and log in with Facebook.
- Pick the ad account your campaigns run from, and the pixel (dataset) Pingado loads on your site.
Pingado reads spend per campaign from the ad account, and sends conversions to the pixel.
What Meta receives
Section titled “What Meta receives”Each conversion goes to Meta twice, from the pixel in the visitor’s browser and from the Conversions API, with the same event_id. Meta keeps one.
| Conversion | Default Meta event |
|---|---|
| Lead | Lead |
| Trial started | StartTrial |
| Purchase | Purchase |
| Booked call | Schedule |
Change the event per conversion in Events Mapping.
With every server event Pingado sends, when it has them and the visitor allowed ad tracking:
- the hashed email (
em) and a hashed visitor ID (external_id) - the
_fbpand_fbccookies, with_fbcrebuilt from thefbclidin the landing URL when the cookie is missing - the visitor’s IP address and user agent
- value and currency for trials and purchases
The pixel
Section titled “The pixel”Pingado loads Meta’s pixel with your pixel ID. When a visitor leaves an email in a form, or completes an order, Pingado passes the hashed email to the pixel too. Remove any other Meta pixel snippet for the same pixel ID from your site.
Testing
Section titled “Testing”Add your test event code from Events Manager to the Meta connection. Test-mode payments then reach Events Manager → Test events. Remove the code when you are done.